25 Christmas Nail Art Designs with Step-by-Step Tutorials
Create stunning Christmas nail art with these 25 step-by-step tutorials. From snowflakes to Santa hats, master festive nail designs this season.
Get ready to sleigh this holiday season with these 25 stunning Christmas nail art designs! Whether you’re a nail art newbie or a seasoned pro, these step-by-step tutorials will have your fingertips looking absolutely magical. From classic candy canes to elegant snowflakes, we’ve got the perfect festive look for every Christmas celebration.
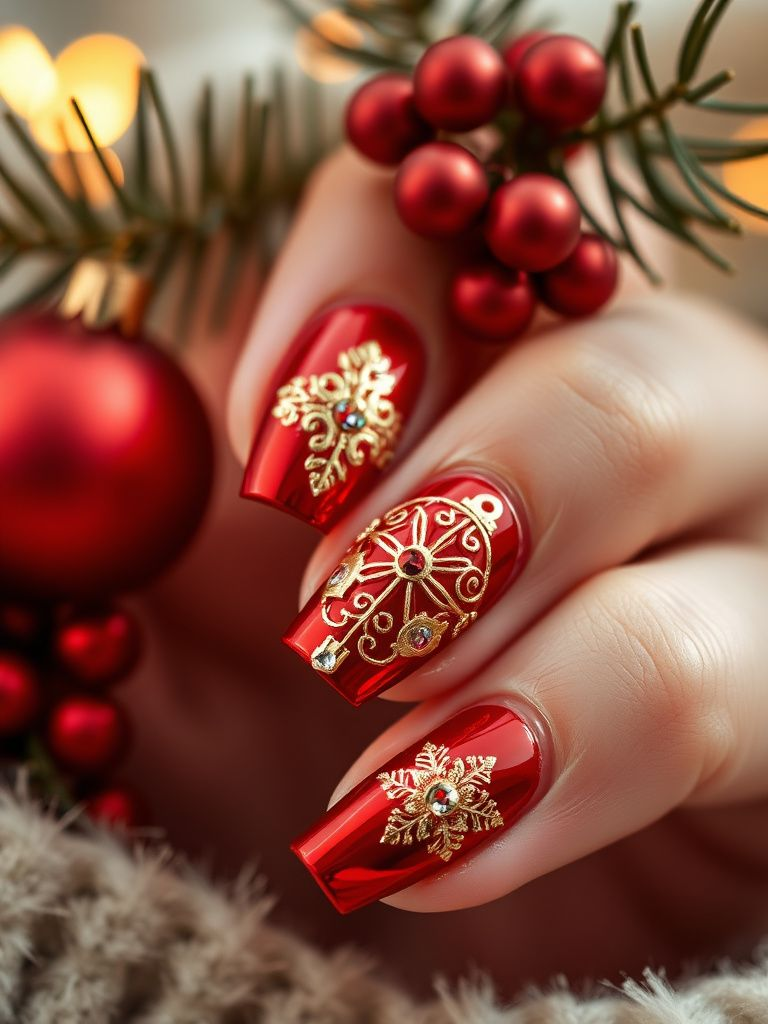
1. Classic Red and Gold Christmas Ornament Nails
Transform your nails into miniature Christmas ornaments with this elegant design. Start with a deep red base using Essie’s “Really Red,” then add gold accents with a fine brush and metallic polish. Create the ornament cap effect by painting a gold band near the cuticle, then finish with tiny rhinestones for that authentic sparkle. This timeless look pairs beautifully with any holiday outfit.
Style tip: Use a dotting tool to create perfectly round rhinestone placements for a professional finish.
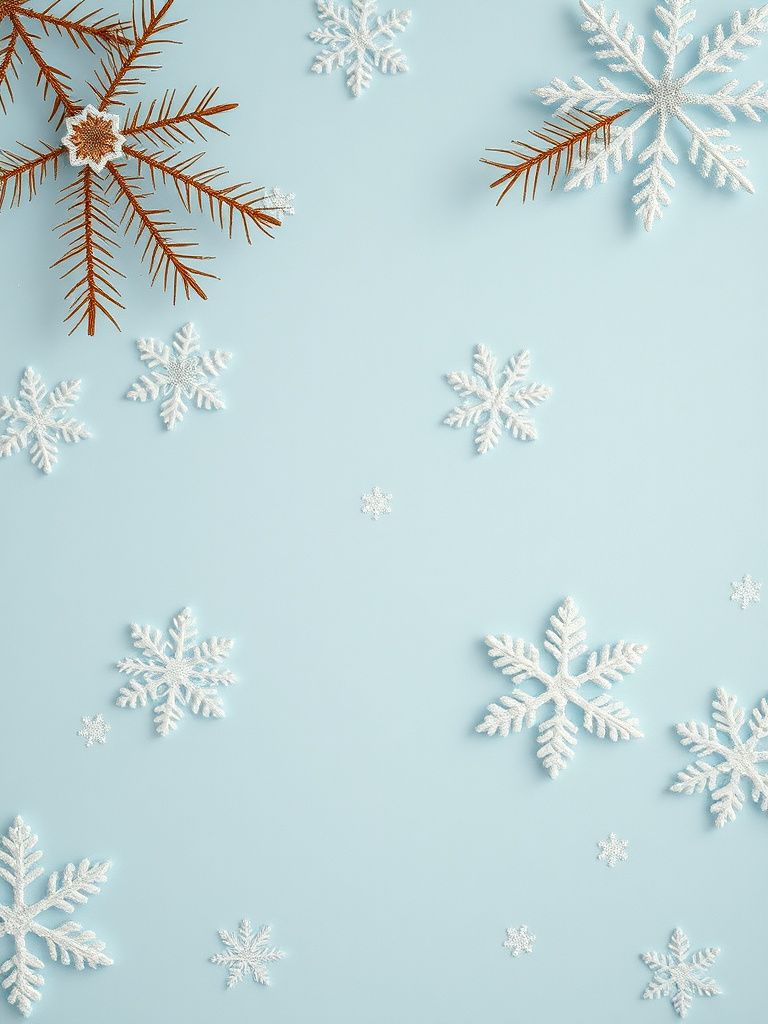
2. Delicate Snowflake French Tips
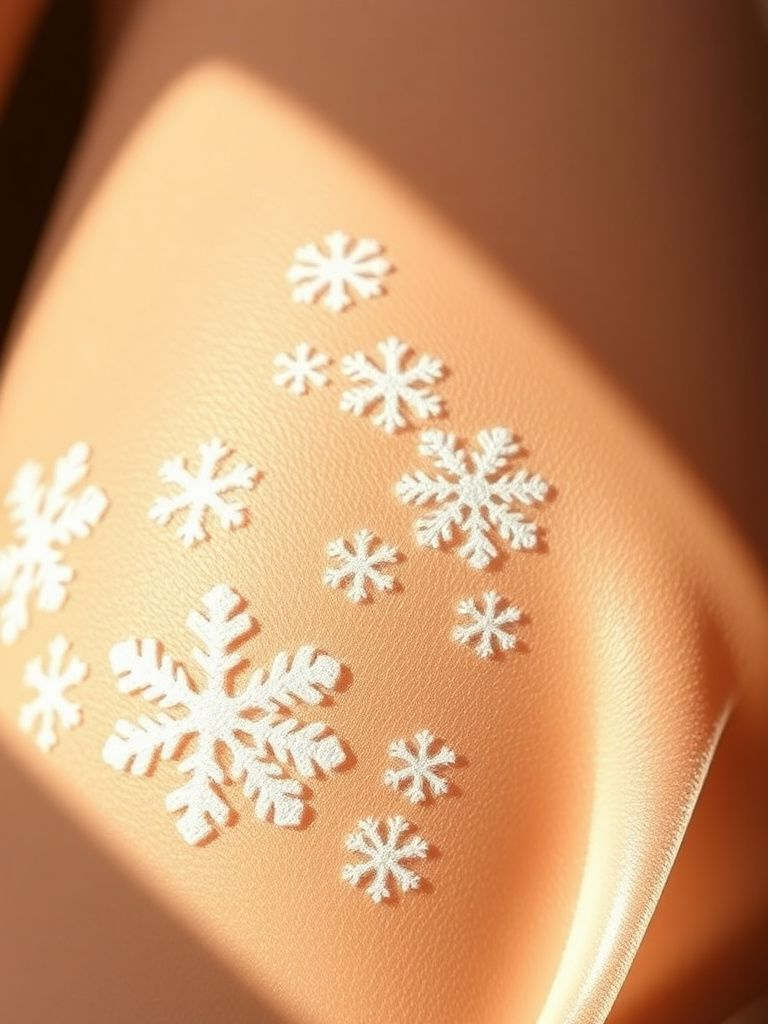
Elevate the classic French manicure with intricate snowflake details. Apply a nude base coat, then create clean white tips using OPI’s “Alpine Snow.” Once dry, use a thin nail art brush to paint delicate snowflakes over the white tips. Each snowflake should have six symmetrical branches with tiny dots at the ends. This sophisticated design works perfectly for both casual and formal holiday events.
Style tip: Practice your snowflake pattern on paper first to ensure consistent shapes across all nails.
3. Candy Cane Striped Statement Nails
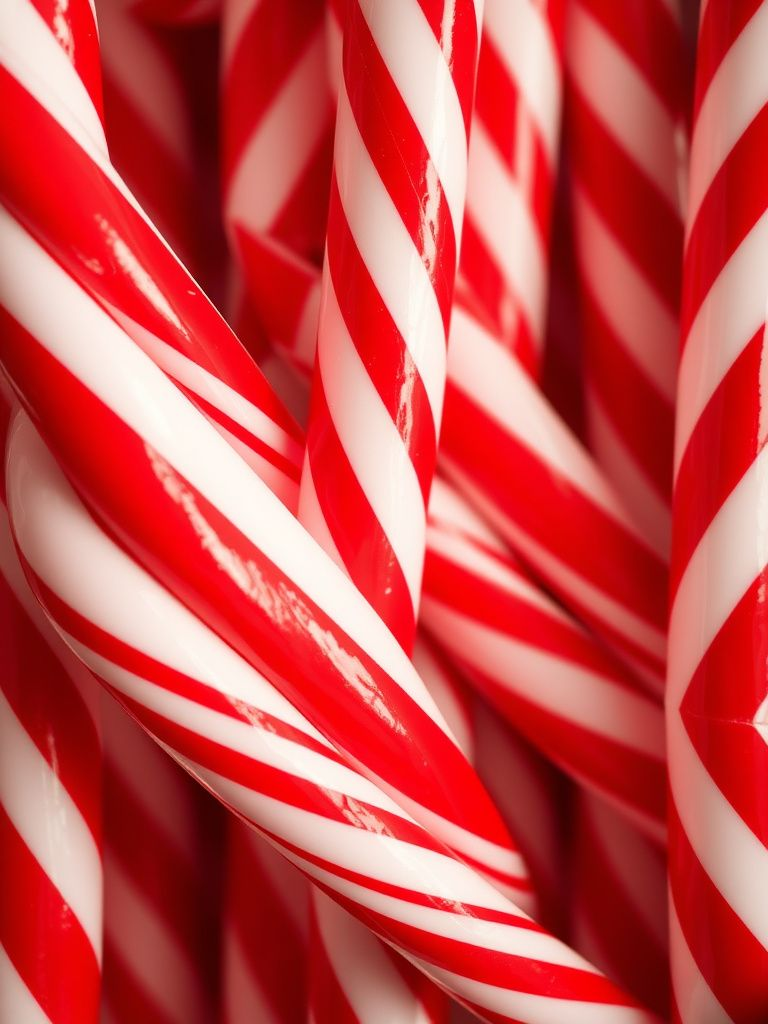
Channel your inner child with these playful candy cane nails. Start with a white base, then use striping tape to create diagonal lines across each nail. Paint the exposed sections with a bright red polish, remove the tape while wet, and seal with a high-gloss top coat. The key is making sure your stripes are evenly spaced and the angles match across all fingers for a cohesive look.
Style tip: Apply the tape when your base coat is completely dry to prevent peeling or smudging.
4. Holly Berry Accent Nails
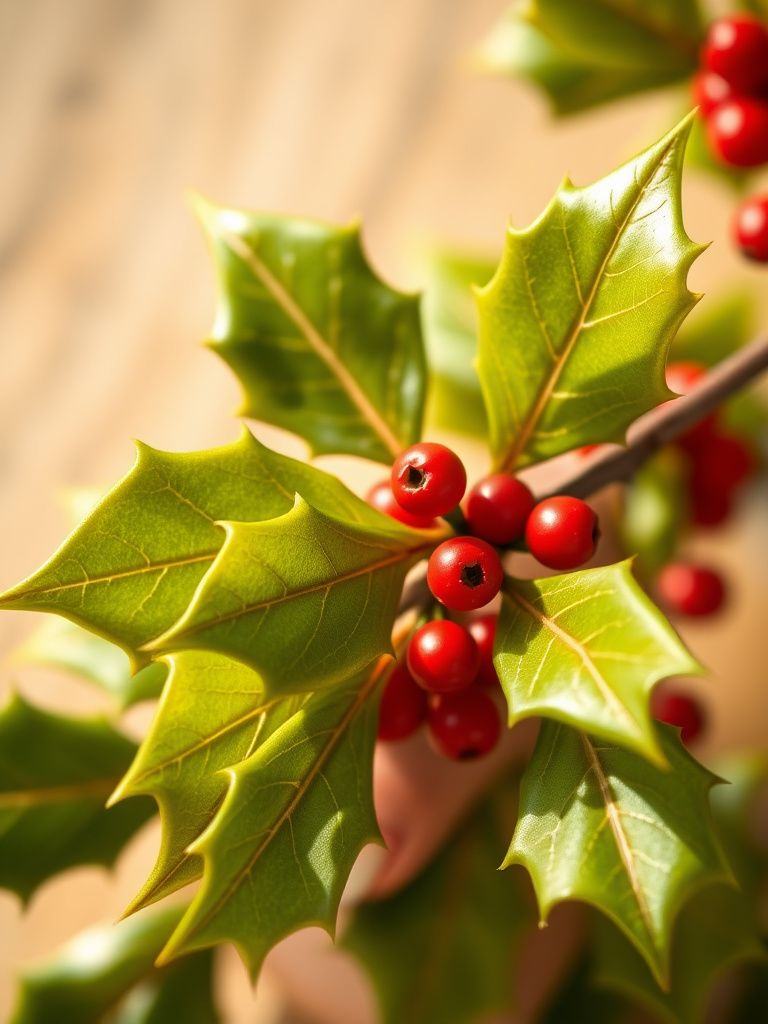
Create charming holly berry accents that capture the essence of Christmas tradition. Use a natural or clear base, then paint small holly leaves in forest green on your ring fingers. Add clusters of tiny red dots using a dotting tool to represent the berries. Finish with small white highlights on each berry to create dimension and a glossy top coat to make the design pop.
Style tip: Keep holly leaves small and delicate – oversized designs can overwhelm shorter nails.
5. Glittery Christmas Tree Gradient

Turn your nails into miniature Christmas trees with this sparkly gradient technique. Start with a nude base, then use a makeup sponge to dab green glitter polish in a triangle shape, heaviest at the cuticle and tapering toward the tip. Layer different shades of green glitter for depth, then add a tiny gold star at the tip using Sally Hansen’s metallic pen. The gradient effect creates beautiful dimension and catches light beautifully.
Style tip: Seal glitter nails with two coats of top coat to prevent snagging and ensure longevity.
6. Minimalist White Christmas Design

Sometimes less is more, and this minimalist white Christmas design proves it. Paint all nails with a crisp white polish, then add single silver snowflakes to your ring fingers only. Use a fine liner brush and metallic silver polish to create simple six-pointed stars with delicate details. This understated look is perfect for those who prefer subtle holiday glamour and works beautifully with winter whites in your wardrobe.
Style tip: Matte top coat transforms this design into a modern, sophisticated look perfect for holiday parties.
7. Santa Hat Accent Nails

Bring Santa’s iconic look to your fingertips with these adorable hat designs. Paint your accent nails red, leaving space at the cuticle for the hat’s base. Add a curved white line near the cuticle for the fur trim, then create the hat tip with a small white pom-pom at the corner. Use a thin black line to represent Santa’s belt across the nail. This whimsical design is perfect for Christmas parties and family gatherings.
Style tip: Use a small dotting tool to create texture in the white fur areas for added realism.
8. Icy Blue Winter Wonderland
Create a winter wonderland on your nails with this icy blue masterpiece. Start with a pale blue base reminiscent of frozen lakes, then add various sized snowflakes in white across each nail. Some snowflakes should be detailed while others are simple dots and lines. Add silver accents sparingly to mimic ice crystals catching the light. This cool-toned design is perfect for those who prefer non-traditional Christmas colors.
Style tip: Vary the size and complexity of snowflakes to create a natural, scattered effect like real snow.
9. Gold Foil Christmas Stars

Achieve luxury-level nail art with gold foil stars on a deep navy background. Paint nails with a rich navy blue, then apply small pieces of gold foil in star shapes using special foil adhesive. Press firmly and peel away the backing to reveal brilliant metallic stars. The contrast between the dark base and bright gold creates a sophisticated holiday look that’s perfect for elegant Christmas celebrations.
Style tip: Apply foil to slightly tacky nail adhesive for the best transfer and minimal waste.
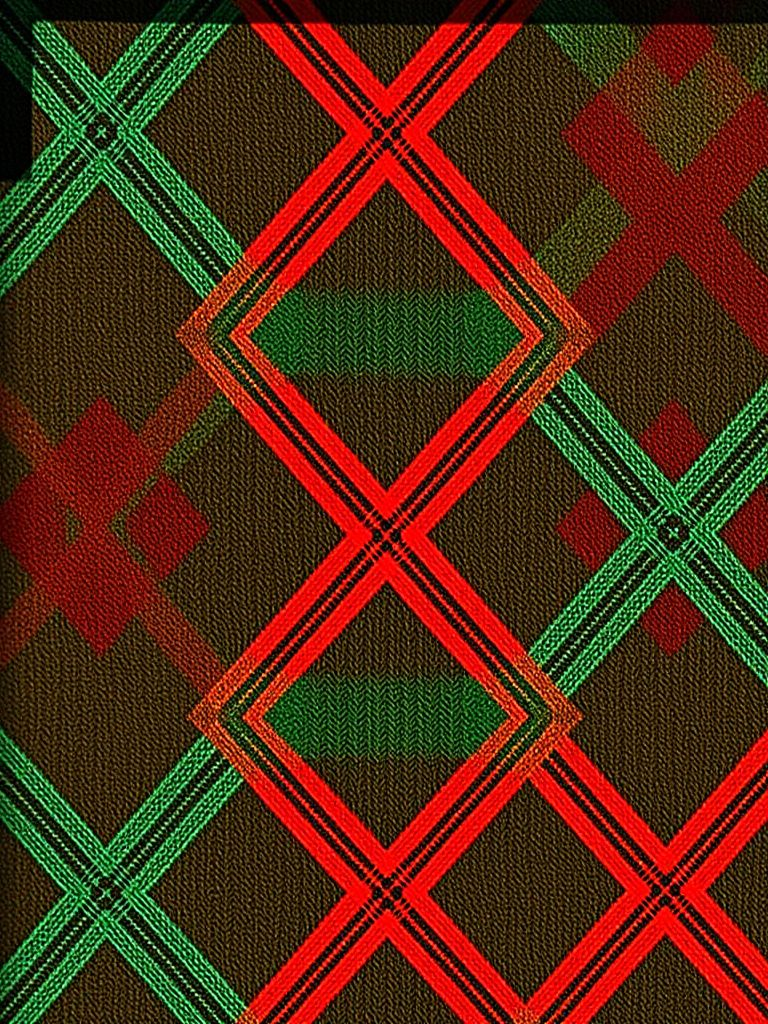
10. Plaid Christmas Sweater Nails
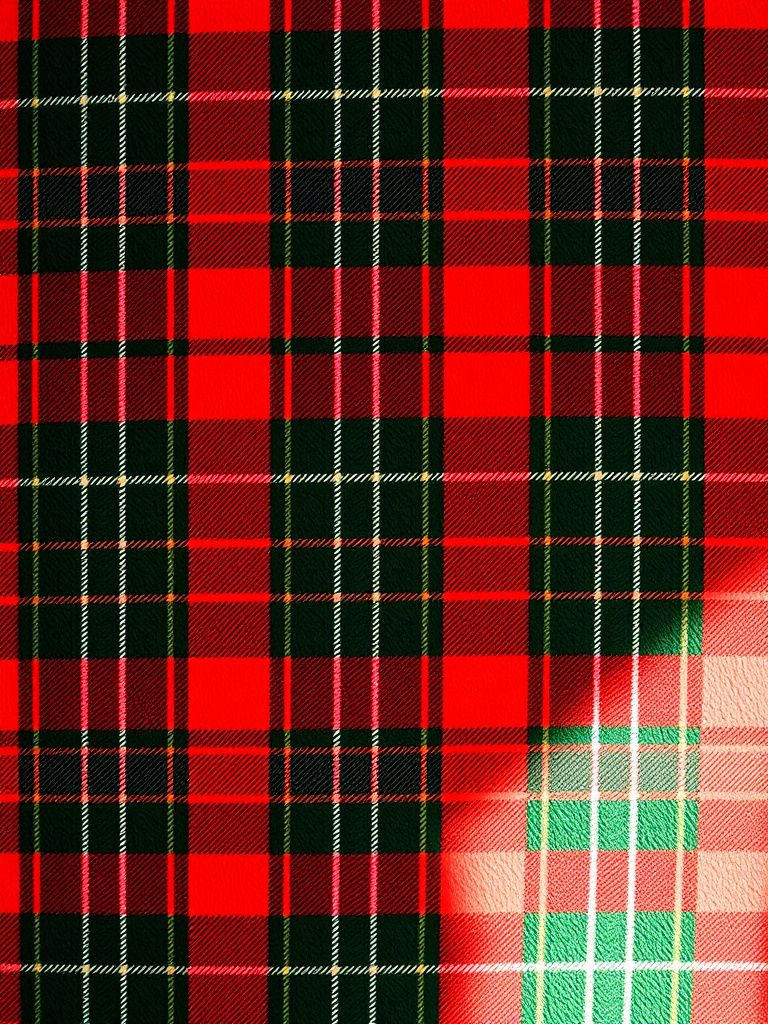
Bring the cozy feeling of Christmas sweaters to your manicure with this plaid design. Start with a red base, then use thin striping brushes to create green vertical and horizontal lines in a plaid pattern. Add thin white lines to complete the traditional tartan look. The key is keeping your lines straight and intersections clean. This design works especially well on longer nails where the pattern has room to develop.
Style tip: Use striping tape as a guide for perfectly straight lines, removing it while the polish is still wet.
11. Christmas Lights Border Design
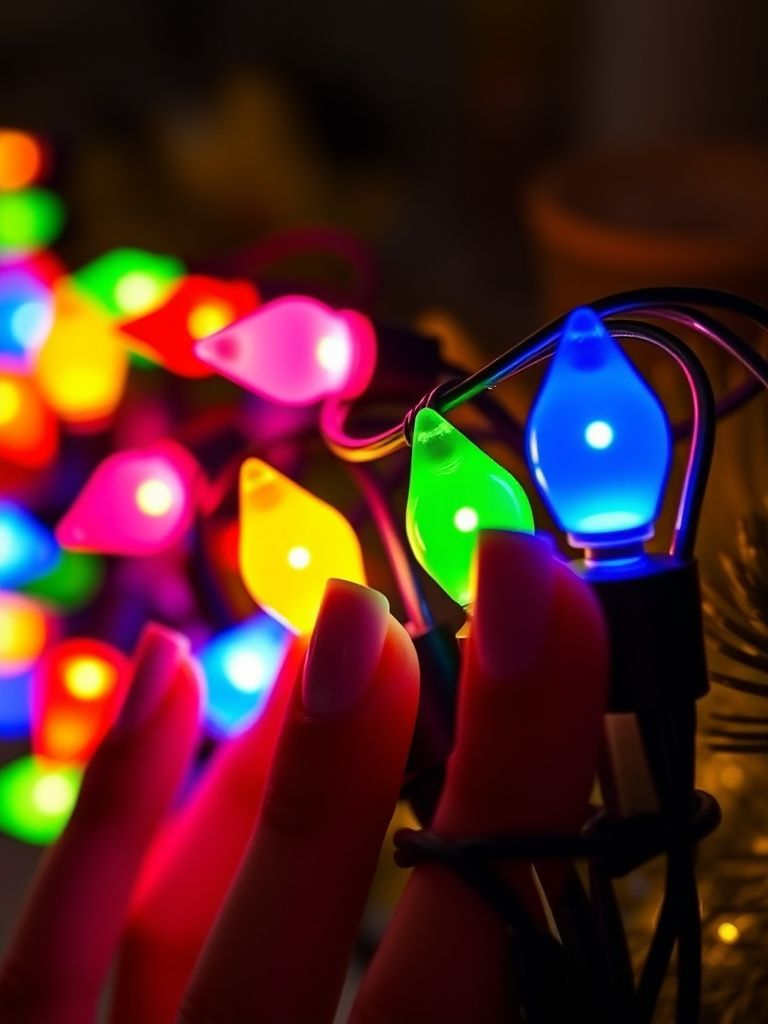
String Christmas lights across your nails with this cheerful border design. Paint a nude or clear base, then create small oval “bulbs” along the tip edge in red, green, blue, and yellow. Connect them with thin black lines to represent the cord, and add tiny metal caps to each bulb with silver polish. This playful design captures the joy of twinkling Christmas lights and works beautifully as a French manicure alternative.
Style tip: Keep bulbs small and evenly spaced – about 3-4 per nail depending on nail width.
12. Elegant Poinsettia Flowers
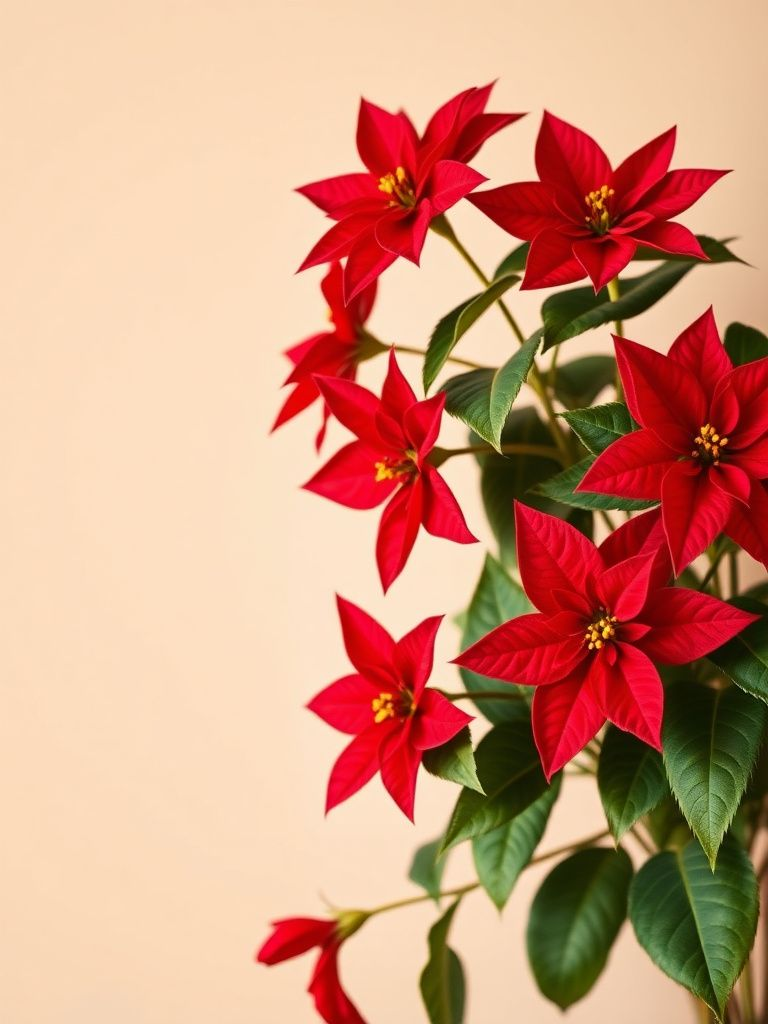
Celebrate the classic Christmas flower with delicate poinsettia nail art. Use Chanel’s “Rouge” for the petals, painting them in a teardrop shape radiating from a central point. Add small green leaves between petals and finish with tiny yellow dots in the center using a dotting tool. This botanical design brings natural Christmas beauty to your nails and pairs wonderfully with holiday floral arrangements.
Style tip: Layer two shades of red for depth – a darker shade at the base of each petal fading to lighter at the tips.
13. Gingerbread Man Cookie Nails

Sweet and whimsical, these gingerbread man nails are perfect for cookie lovers. Paint a brown base to represent the cookie, then use white polish with a thin brush to add icing details – buttons, smile, and decorative trim. Add tiny colored dots for candy decorations using a dotting tool. This design works best on shorter nails where the proportions stay cute rather than overwhelming.
Style tip: Let each layer dry completely before adding details to prevent smudging the intricate white work.
14. Christmas Rose Gold Marble
Elevate your holiday look with sophisticated rose gold marble nails. Start with a white base, then drop small amounts of rose gold polish onto the wet surface. Use a thin brush or toothpick to create marbled veining patterns. The key is working quickly while the polish is wet and not overworking the design. This luxurious look pairs beautifully with rose gold jewelry and adds elegance to any holiday ensemble.
Style tip: Use a fast-drying base coat to control the marbling timing and prevent muddy colors.
15. Festive Argyle Pattern
Bring preppy holiday charm with classic argyle patterns in Christmas colors. Start with a cream base, then create diamond shapes in red and green, overlapping slightly. Add thin diagonal lines in gold to complete the argyle pattern. This sophisticated design works beautifully for holiday office parties and family dinners where you want to look polished yet festive.
Style tip: Map out your diamond placement with dots before painting to ensure even spacing and symmetry.
16. Midnight Blue Christmas Sky

Create a magical Christmas Eve sky on your nails with deep midnight blue and twinkling stars. Paint nails with a rich navy blue, then add various sized silver stars using a small brush and metallic polish from Zoya. Finish with tiny white dots to represent falling snow, concentrated more heavily at the tips and fading toward the cuticles. This dreamy design captures the wonder of Christmas night.
Style tip: Use different star sizes and orientations to create a natural, scattered night sky effect.
17. Red Velvet Textured Nails
Channel the luxury of red velvet with this textured nail design. Apply a deep red base coat, then while still wet, lightly dust with red velvet flocking powder or fine glitter. The texture creates a rich, dimensional finish that’s perfect for elegant holiday celebrations. Seal very lightly with matte top coat to preserve the texture while adding durability.
Style tip: Apply texture powder with a fan brush for even distribution and avoid overloading any single area.
18. Christmas Wreath Accent Nails
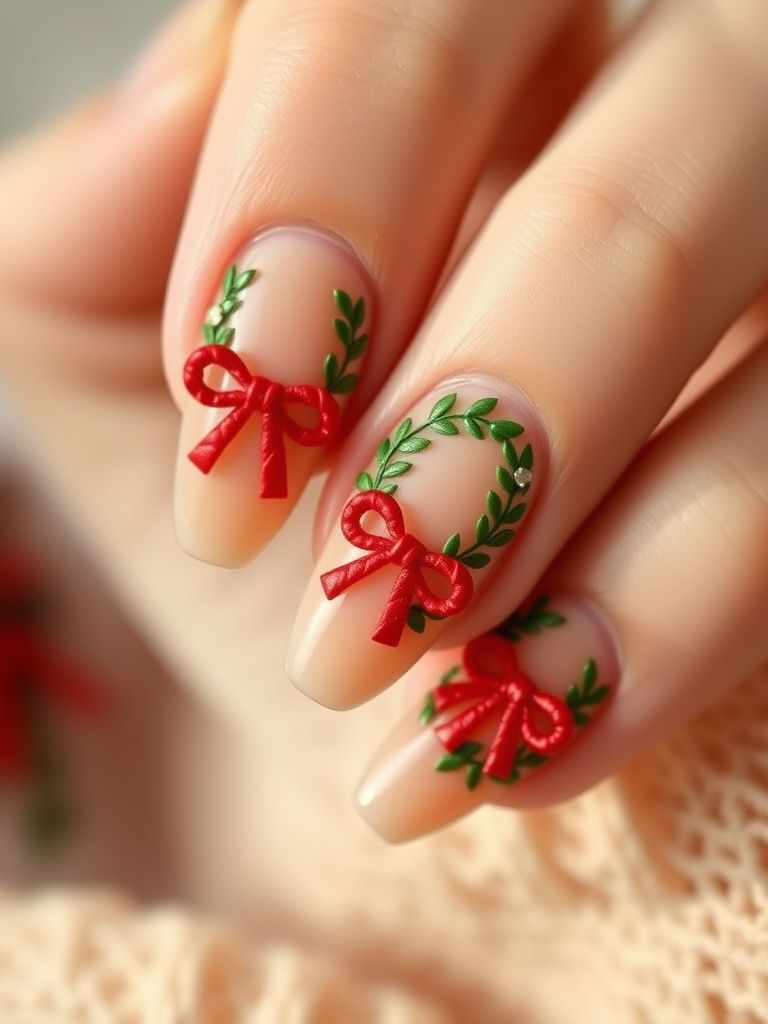
Bring the traditional Christmas wreath to your accent nails with this charming design. Create a circular wreath shape using small dots or short strokes of green polish, varying the shades for depth. Add a small red bow at the bottom of each wreath and tiny white or silver dots to represent decorative elements. This classic design works beautifully on ring fingers while keeping other nails in complementary solid colors.
Style tip: Create wreaths using a circular motion with a small brush loaded with different green shades for natural variation.
19. Sparkling Champagne Celebration

Toast to the holidays with champagne-inspired nails featuring bubble effects. Start with a champagne gold base, then create “bubbles” using clear polish dots in various sizes. Add fine gold glitter throughout and finish with a high-gloss top coat for maximum sparkle. This celebratory design is perfect for New Year’s Eve parties and captures the effervescent joy of holiday toasting.
Style tip: Layer bubbles at different depths – some on the base, some on top of glitter – for realistic dimension.
20. Cozy Cabin Christmas
Create a cozy cabin scene with brown, green, and white polish representing logs, trees, and snow. Paint horizontal brown lines to mimic log construction, add triangular green trees, and finish with white “snow” on the trees and cabin roof. This rustic design brings the warmth of a mountain Christmas to your fingertips and pairs perfectly with cozy holiday sweaters.
Style tip: Use a flat brush to create clean horizontal log lines and build your scene from bottom to top.
21. Elegant Black and Gold Christmas

Sophisticate your Christmas look with dramatic black and gold geometric designs. Paint nails black, then create angular Christmas tree shapes using gold striping polish. Add gold dots and lines for ornament details. This modern take on Christmas nail art works beautifully for elegant holiday parties where you want to make a statement while staying chic.
Style tip: Use gold striping polish for clean, precise lines that won’t bleed or feather on the black base.
22. Vintage Christmas Postcards

Capture nostalgia with vintage Christmas postcard-inspired nail art. Use muted reds, forest greens, and cream colors to create retro holiday motifs like bells, holly, and vintage Santa figures. Add tiny details with a liner brush and finish with slightly aged-looking effects using sheer brown polish over certain areas. This unique design appeals to vintage lovers and creates conversation-worthy nails.
Style tip: Study actual vintage Christmas cards for authentic color palettes and design elements to recreate.
23. Luxe Burgundy and Copper
Embrace rich, luxurious colors with burgundy and copper Christmas nails. Paint with deep burgundy polish, then add copper foil accents in geometric patterns or organic shapes. The warm metallic against the wine-colored base creates an expensive, salon-quality look. Add small copper dots or lines for additional detail without overwhelming the sophisticated color combination.
Style tip: Warm the foil slightly with your finger before applying for better adhesion and smoother application.
24. Whimsical Reindeer Silhouettes

Create magical reindeer silhouettes against winter backgrounds. Paint a soft gray or white base, then use black polish to create reindeer profiles with distinctive antlers. Keep the silhouettes simple but recognizable, focusing on the characteristic antler shapes. Add small white dots for snow and perhaps a red dot for Rudolph’s nose on one accent nail.
Style tip: Practice reindeer shapes on paper first, focusing on the antler proportions that make them instantly recognizable.
25. New Year’s Eve Countdown
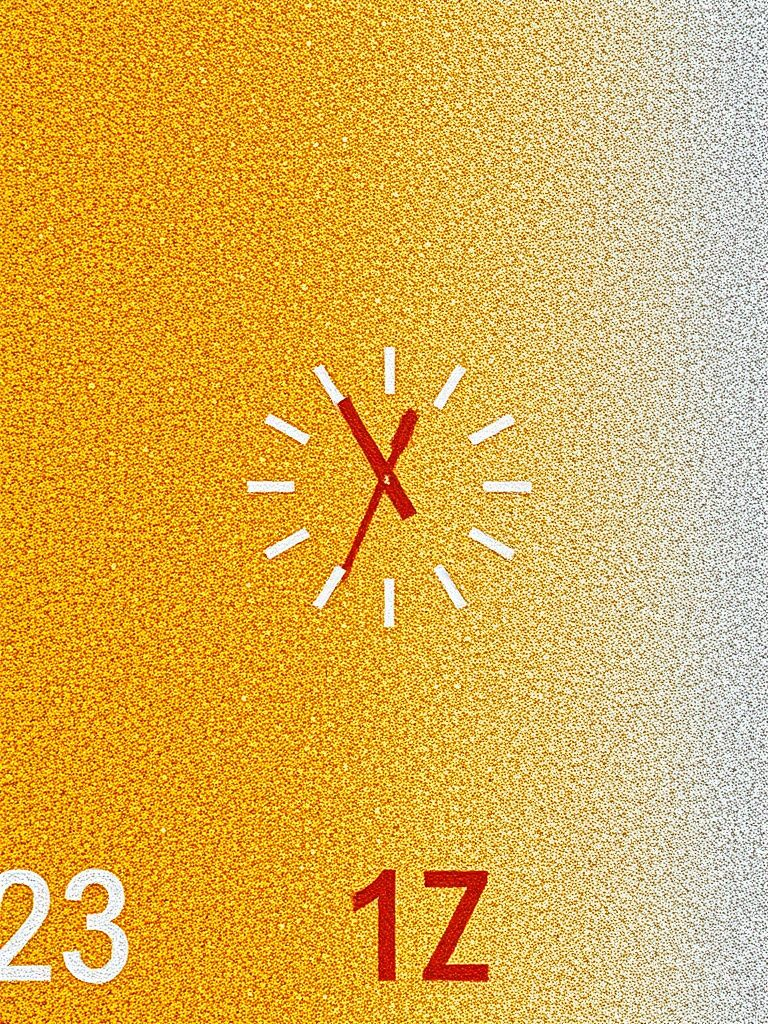
Bridge Christmas and New Year’s with this countdown-inspired design. Create an ombre effect from gold to silver using Urban Decay’s metallic polishes, then add clock elements or the numbers “2024” in contrasting colors. This transitional design works for the entire holiday season and celebrates both Christmas festivities and New Year’s anticipation.
Style tip: Use a makeup sponge to blend metallic polishes seamlessly, working quickly before they dry.
Final Thoughts
These 25 Christmas nail art designs offer something magical for every style preference and skill level. Whether you’re drawn to classic reds and golds or prefer modern metallics, there’s a perfect festive look waiting for you. Save your favorites and don’t be afraid to mix elements from different designs to create your own unique holiday masterpiece! Here at velvetgrl, we believe your nails should sparkle as bright as your holiday spirit.